Monday, January 21, 2008
it's a pain to understand every single person.
but i guess that's where sincerity stems from.
and i guess, not everyone is as what they seem.
why do we have to be the ones who continuously read between the lines? do we not deserve equal treatment in return?
maybe it's because we're older. more mature. knowing how to think better.
that's why.
and thus such stress is proportionate to age and wisdom i guess.
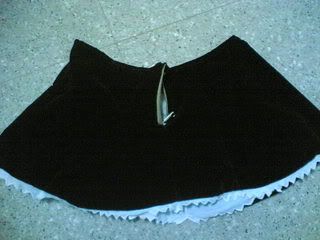
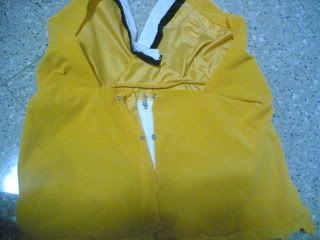
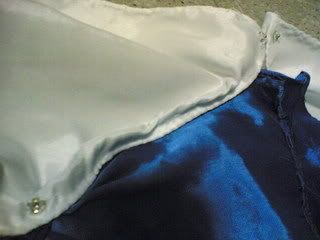
here is the skirt that i've repaired. painstakingly went to sew the edges for the jagged part... then attached to the main skirt as an underlining.
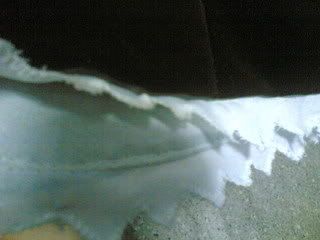
whee. i think i'm coining a lot of terms myself. undercoat? underlining? lining? whatever, you know what i mean. or rather, i know what i mean haha.
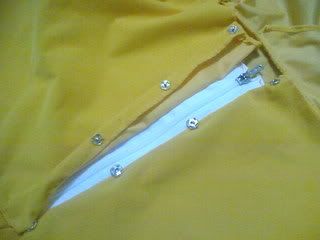
here you can see a lot of the extras from the white cloth, which will be sewed in by another cover-up layer (another self-coined term). had to use the pins to mark the white cloth in place:
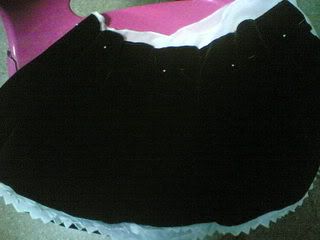
lousy zip i found from my stash. had to attach extra cloth to it cos it was missing the metal stopper zips usually have at the top and bottom (to prevent 'over-zipping').
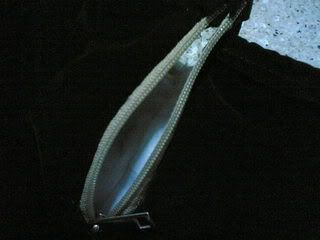
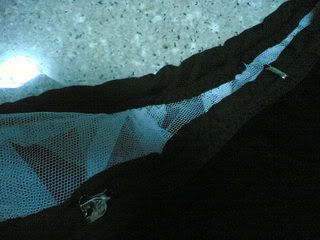
here you can see that the white lining is not split up at the zip part.
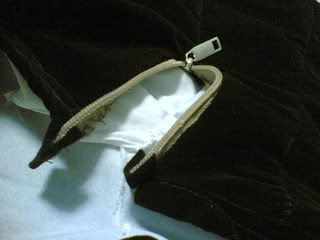
the zip is actually at the front of the skirt. i figured that's where it'll be covered better since the top i made has a flap that would cover it better rather than when it's on the sides or back. a better choice would have been a hidden zip though. but my principle is to save as much and still create something presentable :p
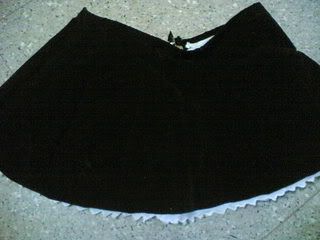
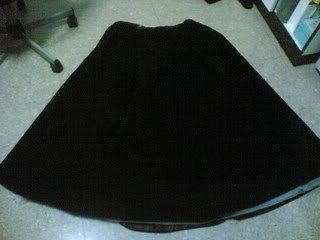
and the skirt from the back. nothing special. just for the sake of completeness i should show the 360degrees view eh.
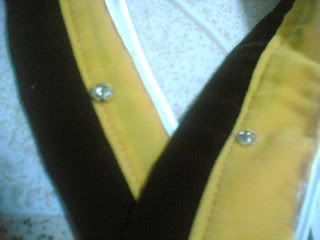
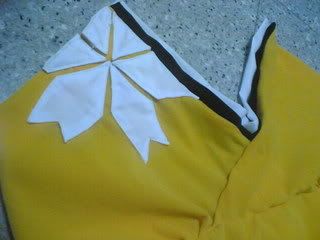
and i redid my choker too!
used a smaller enzyme (it looks enzymic to me...) button. best thing is last time you could see the stitches from the outside but now i've used hidden stitches so you can't see them now :D
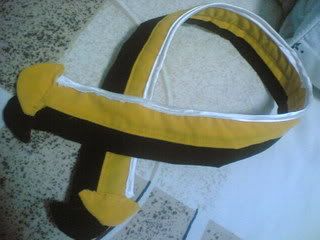
the arrowed ends. last time it was just a cut-out, this time i sewed it inside and turned it around to hide the stitches, then sewed the semi-circles onto the long strips. some parts still protrude and doesn't look too good though. i also used leftover satin for the white part instead of ribbons like before so i can overlap the orange parts.

and my completed choker (without the jade pearl in the middle)
YAAAAAAAYYY~

whee. i think i'm coining a lot of terms myself. undercoat? underlining? lining? whatever, you know what i mean. or rather, i know what i mean haha.
here you can see a lot of the extras from the white cloth, which will be sewed in by another cover-up layer (another self-coined term). had to use the pins to mark the white cloth in place:

lousy zip i found from my stash. had to attach extra cloth to it cos it was missing the metal stopper zips usually have at the top and bottom (to prevent 'over-zipping').

here you can see that the white lining is not split up at the zip part.

the zip is actually at the front of the skirt. i figured that's where it'll be covered better since the top i made has a flap that would cover it better rather than when it's on the sides or back. a better choice would have been a hidden zip though. but my principle is to save as much and still create something presentable :p

and the skirt from the back. nothing special. just for the sake of completeness i should show the 360degrees view eh.

and i redid my choker too!
used a smaller enzyme (it looks enzymic to me...) button. best thing is last time you could see the stitches from the outside but now i've used hidden stitches so you can't see them now :D

the arrowed ends. last time it was just a cut-out, this time i sewed it inside and turned it around to hide the stitches, then sewed the semi-circles onto the long strips. some parts still protrude and doesn't look too good though. i also used leftover satin for the white part instead of ribbons like before so i can overlap the orange parts.

and my completed choker (without the jade pearl in the middle)

YAAAAAAAYYY~
Monday, January 14, 2008
i redid the whole top! yay i feel so happy. i bought the template and could do the top that had the boob shape. whee~ this is more wearable than the other one.
the buttons were a mess. it was originally at the side but i undid the whole thing and shifted them to the back, while adding a zipper. much more neater.
basically just did the edges and ripped the bottom part from the old top.
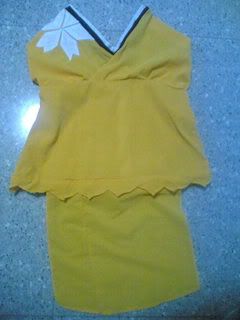
and the last one - the petals! i realised that ironing is also part and parcel of sewing. i went to iron the petals so the edges are inside and i can sew them better on. it's so much neater than the last one now.
the buttons were a mess. it was originally at the side but i undid the whole thing and shifted them to the back, while adding a zipper. much more neater.


basically just did the edges and ripped the bottom part from the old top.

and the last one - the petals! i realised that ironing is also part and parcel of sewing. i went to iron the petals so the edges are inside and i can sew them better on. it's so much neater than the last one now.

Tuesday, January 08, 2008
yay! i have officially finished my gwendolyn costume!
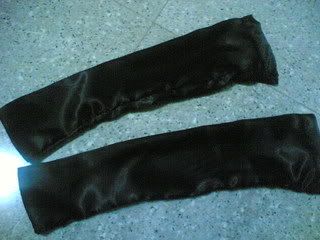
while the gloves look like they might be easy to make, they are certainly not so... it has to be fitting and can be pulled all the way to the upper arm. that means it has to be wide at the top and thin at the bottom, but still big enough for my wrist to go through.
the last part added on is the extra layer to give the 'layered' look so i used alternated and cross stitches to sew them on so the edges won't flap up.
with the gloves completed, i went on to repair my corset and restitch the white ribbon position
also re-stitched all the back buttons and line a black ribbon so the stitches won't be as obvious.
yay! the last part is the feathers.
while the gloves look like they might be easy to make, they are certainly not so... it has to be fitting and can be pulled all the way to the upper arm. that means it has to be wide at the top and thin at the bottom, but still big enough for my wrist to go through.
the last part added on is the extra layer to give the 'layered' look so i used alternated and cross stitches to sew them on so the edges won't flap up.


with the gloves completed, i went on to repair my corset and restitch the white ribbon position

also re-stitched all the back buttons and line a black ribbon so the stitches won't be as obvious.

yay! the last part is the feathers.
Saturday, January 05, 2008
finally an update!
ever since i got my job doing relief teaching at yishun sec... i've been able to come home early everyday (usually released around 3pm). for the past week, i've been trying to mend my gwendolyn costume since i picked up some more tailoring skills... and bought a template for making corsets!
by the way my pictures will all be taken by nokia 6180 (it think) since i lost my samsung one. :(
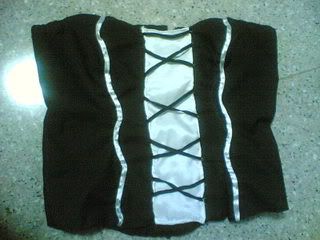
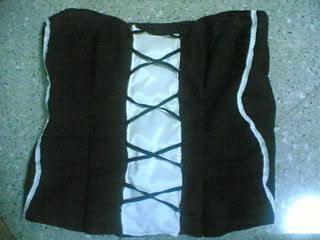
so here's how the corset look like so far. may be removing the white ribbons and resewing them again since it's a tad too far from the criss crosses. the criss crosses are soooo hard to sew on as i had to cut and continue sewing so it doesn't sew my criss crosses with the white patch together.
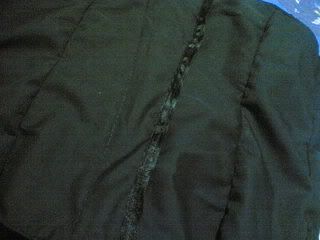
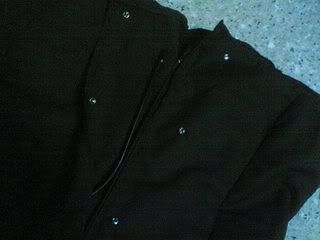
and the back. tried to hide the zip so had to use some buttons to cover it. i'm so happy with this because it has a boob shape and it really works like a corset. i never knew how to make these kind of '3D' clothes / fitting kind so this is my firsssst. made tons of ammendments in the process. had to unstitch and restitch the whole thing a couple of times due to wrong side of lining, wrong size, wrong method of stitching... was really frustrating.
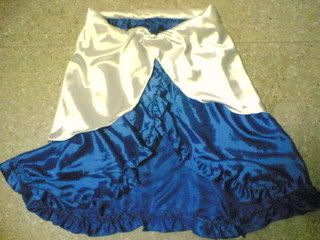
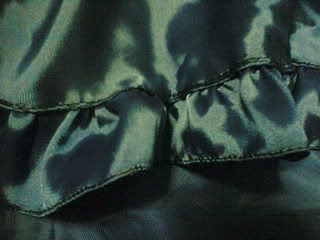
and the skirt! i noticed that it should have the frilly ends for the blue layer and i redid the white layer using my leftover satin... then attached them together. also redid this a couple of times cos i used gather stitches for the blue layer... which scrunched everything up so i had to unstitch, cut some cloths, do the linings and stitch the frills separately.

added the buttons to hold the cover in place. i realised that the blue-white layer can be worn by itself as a normal skirt haha just that satin seems too elaborate for normal occasions...
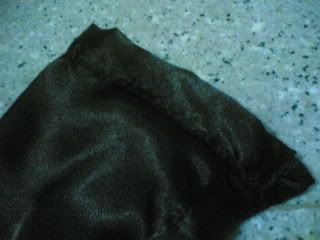
and finally the black layer. trimmed the kinky nettings, and neaten the top layer. black 'velvet' is always a trouble to stitch, cos it leaves a lot of furs churning in my machine, it's thick (kink layer + black scrunched layer + final 'neaten up' layer). also redid my buckles position since i added the 'neaten up' layer. and i sewed the hems for the skirt's edges as well (i learnt the importance of hemming).
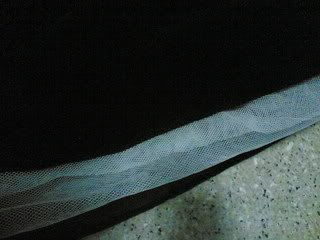
the neaten up layer and new buckle position
ever since i got my job doing relief teaching at yishun sec... i've been able to come home early everyday (usually released around 3pm). for the past week, i've been trying to mend my gwendolyn costume since i picked up some more tailoring skills... and bought a template for making corsets!
by the way my pictures will all be taken by nokia 6180 (it think) since i lost my samsung one. :(
so here's how the corset look like so far. may be removing the white ribbons and resewing them again since it's a tad too far from the criss crosses. the criss crosses are soooo hard to sew on as i had to cut and continue sewing so it doesn't sew my criss crosses with the white patch together.

and the back. tried to hide the zip so had to use some buttons to cover it. i'm so happy with this because it has a boob shape and it really works like a corset. i never knew how to make these kind of '3D' clothes / fitting kind so this is my firsssst. made tons of ammendments in the process. had to unstitch and restitch the whole thing a couple of times due to wrong side of lining, wrong size, wrong method of stitching... was really frustrating.

and the skirt! i noticed that it should have the frilly ends for the blue layer and i redid the white layer using my leftover satin... then attached them together. also redid this a couple of times cos i used gather stitches for the blue layer... which scrunched everything up so i had to unstitch, cut some cloths, do the linings and stitch the frills separately.


added the buttons to hold the cover in place. i realised that the blue-white layer can be worn by itself as a normal skirt haha just that satin seems too elaborate for normal occasions...

and finally the black layer. trimmed the kinky nettings, and neaten the top layer. black 'velvet' is always a trouble to stitch, cos it leaves a lot of furs churning in my machine, it's thick (kink layer + black scrunched layer + final 'neaten up' layer). also redid my buckles position since i added the 'neaten up' layer. and i sewed the hems for the skirt's edges as well (i learnt the importance of hemming).

the neaten up layer and new buckle position

