ever since i got my job doing relief teaching at yishun sec... i've been able to come home early everyday (usually released around 3pm). for the past week, i've been trying to mend my gwendolyn costume since i picked up some more tailoring skills... and bought a template for making corsets!
by the way my pictures will all be taken by nokia 6180 (it think) since i lost my samsung one. :(
so here's how the corset look like so far. may be removing the white ribbons and resewing them again since it's a tad too far from the criss crosses. the criss crosses are soooo hard to sew on as i had to cut and continue sewing so it doesn't sew my criss crosses with the white patch together.
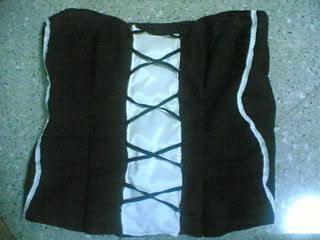
and the back. tried to hide the zip so had to use some buttons to cover it. i'm so happy with this because it has a boob shape and it really works like a corset. i never knew how to make these kind of '3D' clothes / fitting kind so this is my firsssst. made tons of ammendments in the process. had to unstitch and restitch the whole thing a couple of times due to wrong side of lining, wrong size, wrong method of stitching... was really frustrating.
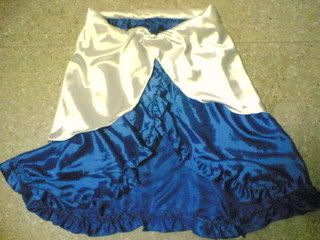
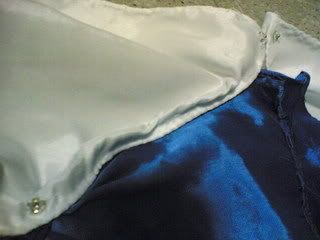
and the skirt! i noticed that it should have the frilly ends for the blue layer and i redid the white layer using my leftover satin... then attached them together. also redid this a couple of times cos i used gather stitches for the blue layer... which scrunched everything up so i had to unstitch, cut some cloths, do the linings and stitch the frills separately.
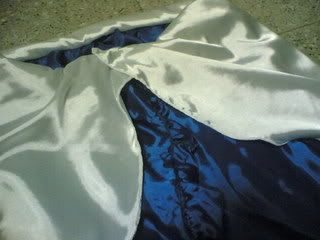
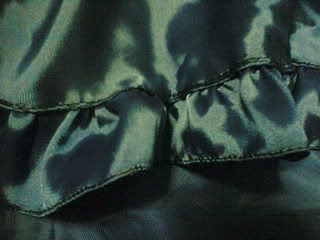
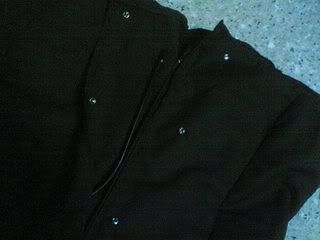
added the buttons to hold the cover in place. i realised that the blue-white layer can be worn by itself as a normal skirt haha just that satin seems too elaborate for normal occasions...
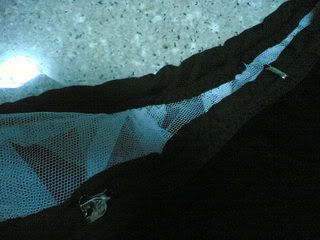
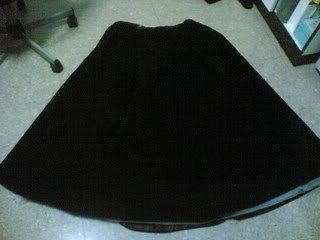
and finally the black layer. trimmed the kinky nettings, and neaten the top layer. black 'velvet' is always a trouble to stitch, cos it leaves a lot of furs churning in my machine, it's thick (kink layer + black scrunched layer + final 'neaten up' layer). also redid my buckles position since i added the 'neaten up' layer. and i sewed the hems for the skirt's edges as well (i learnt the importance of hemming).
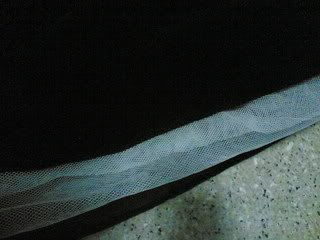
the neaten up layer and new buckle position
No comments:
Post a Comment