Friday, March 28, 2008

lesson for jeong ho's costume: importance of tacking.
i virtually tacked all the pieces i have here, espcially those ribbon-like thingy (headbands, hair ties, belts, etc).
so here's his hair tie:


Photobucket


and his headband (can't find the jade yet). tried to make this double sided. the seams didn't get sewn on too well so i had to handsew them later on so the edges won't come out. handsew is still essential even with a machine!! (so you can have single sided stitches.)


Photobucket


and the gloves.


Photobucket


it's maroon, but no idea why they look so dark.

Thursday, March 27, 2008

i bought the light blue cloth but i realised it was TOO light so at least i was able to use it at the back side. so i guess my blue leftover satin from gwendolyn works better here.
the tacking process was tedious because i had to fold the blue satin first, tacked it then fold the light blue ones, untack and retacking along the way. then i had to add an extra flap for the light blue ones cos i've underestimated (again). even with the extra cloth, i've cut it JUST right so it was nearly impossible to fold in and tack.
now i know why there should be sooo many tacks in a box.


Photobucket


the finished product


Photobucket


somehow the color lightens on a closer view.


Photobucket


the back looks so good. sighs. i wish it was the front.


Photobucket

Tuesday, March 25, 2008

managed to just about finish my navy robes for jeong ho with the velvet lining i bought. it is SUCH a pain to stitch the lining. i don't know why, but it just is. probably because i made terrible measurements. but oh well, it turns out fine. but i realised that my seams are starting to not work, the threads are coming loose. gotta think of another way out.
for now, enjoy the robes. it's NOT black, it's just my camera (phone). it's more of navy satin.


Photobucket


Photobucket

some hook buttons i've stitched on before i put the lining. there's like 6 or 7 there.

Photobucket
latest bible!
i'm so so so so so glad that i saw this book. it's like filled with colors, templates and detailed how-to steps... for only $27+! best thing is it teaches you how to make a large variety of clothings for cosplay, like tuxedo, kimono, jacket - don't think you can get such a good book at the same price anywhere!!


detailed how-to steps


with templates some more!!


Monday, March 24, 2008

and so with the first 2 items from chinatown i went to work on the inner top and pants. the white satin and inner tape are leftovers for the collar.


Photobucket


and i think my inner top has improved, no?


Photobucket


now the pants.


Photobucket


Photobucket


my only regret was not adding a zip... so i've to squeeze myself in now. but it's still doable. heh.
and now i have like 1 week to work on my next project: min jeong ho or jang geum's dream! or shoujo changumu no yume. (i'll stick to the jap name)
couldn't really find decent photos of him so i had to take screenshots from crunchyroll and youtube. the color and resolution differs so much though. here's how he looks like.


Photobucket


Photobucket


Photobucket


Photobucket


i've no idea why they are gay-ifying him but i can assure you that he is very manly in the show. like in dae jang geum of cos (only much cuter :D).
oki, stupid ball ball which i've repainted with acrylic (mix of pink and blue), then coated it with some translucent silver spray, and finally a shiny coat (forgot what it is called but it makes things shiny... duh). by the way spray paint FAILS on rubbery surface. it broke into pieces when i squeezed the ball. before the shiny coating, it looks black:


Photobucket


but after that, it looks bluish!


Photobucket


and with the straps. still can't figure out how to hook the straps...

Photobucket


and yes after washing, spraying and painting, the lighted thing inside still works. :D
and finally the finished choker for kureha.


Photobucket

have finished this long ago, just thought for completion's sake i'll put it up. see the added pearl? took me so long to find it. snipped it off from an earring heh.
a pretty similar pouch i made for my sister. the embroidery was horrendous. oh well.


Tuesday, March 18, 2008

with my ryuuki almost done, i used the scrap cloths to make random things... like a handphone pouch. i think the purple satins match quite nicely.


i've even embroidered a little b at the corner. that is quite ugly... oh well, here's the back.


i've even used white lining for the inner parts...


and i really want to make a handphone couch for my boss's birthday. i wonder if this is passable. i think it would really make him laugh. ughhh.


don't ask me what animal it is ok. for an even more cutesy effect, here are its legs.


and of cos the holder part. and the handphone can only be placed sideways so the holder will remain steady. bad physics. ah well.


the front flannel was a pain. the clouds were a pain. see how they crumple up after i've sewed them on? i used my grease paper to set the patterns, then sew over the paper and tore it out. it works pretty well, but it got stuck when i did the outlines. still, it's so much cheaper than the vaseline paper...


Photobucket


Photobucket


and then i've to add the yellow and red extensions at the sides after i've taken more snapshots from the anime.


Photobucket


and the back is neater with a huge red flap. luckily i was forced to buy a metre of this cloth.


Photobucket


added a drawstring ribbon to tie it around my waist easily.


Photobucket


having done this, i went on to sew extra buttons for my top, the obi and fixed all the ugly parts behind the gold strips and inside the top... also added strongs to tie my headgear.


Photobucket


and i realised i was quite done. so i'm left with the ball-y. and i got this rubber ball-y which lights up when you bounce it.


Photobucket


ain't it cute. well i tried to spray paint it but it flaked off after i squeezed it. so oh well. gotta find another ball, or another way.

Wednesday, March 12, 2008

someone is forming a group in the forum... and i managed to grab these pictures.
Photobucket
Photobucket
PhotobucketPhotobucket


their character designs are really nice!
i'm so so excited! forgot to bring my handphone yesterday but i remembered today so here's one hoard of pictures for me to boast haha!
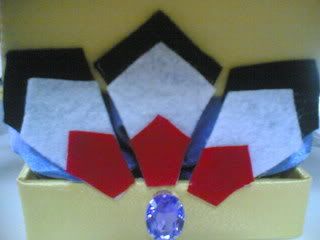
monday was so fruitful. i started my day working on the emperor headgear using corrugated board and cloth. here's what i have! now i'm just thinking of what strongs i should stick to it so i can really wear it...


Photobucket


Photobucket


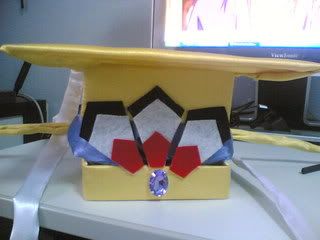
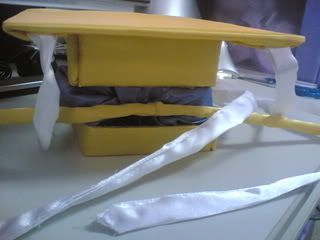
and the back. maybe i will replace the yellow stick. looks awful.


Photobucket


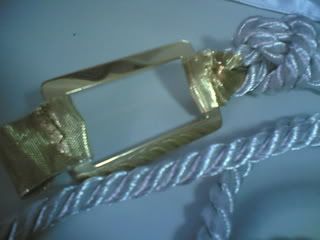
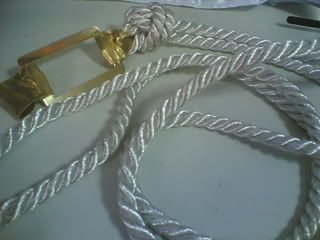
then i worked on the belt. managed to snip the center section off with a plier and tie it with gold ribbons. yay!


Photobucket


Photobucket


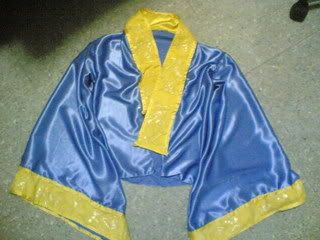
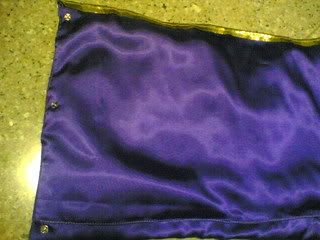
and yes! my pretty top!


Photobucket


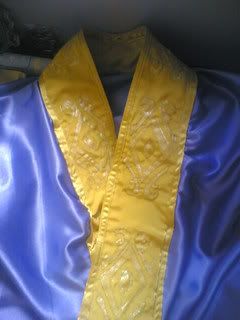
managed to sew on the embroidery piece to the collar:
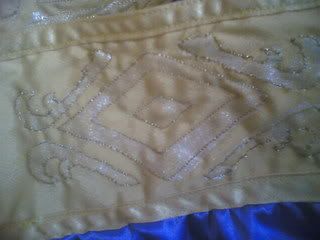

Photobucket


Photobucket


and the sleeves.


Photobucket


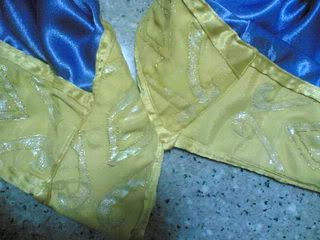
it looks easy but because my estimation wasn't accurate and the cloth kept getting flopped (whatever that means), i had to unsew and resew a couple of time so it won't look so scrunged. and of cos, adding the buttons. the back of the lining looks horrible. maybe i'll treat it as a pocket.


Photobucket


then i went to fix my horribly underestimated obi by addding extensions. it looks pretty good now. i realised the underside is stitched on by the bobbin color, so you could actually have 2 different color on the front and back. stupid me, should have used it for my top. the troublesome part was changing the colors.


Photobucket


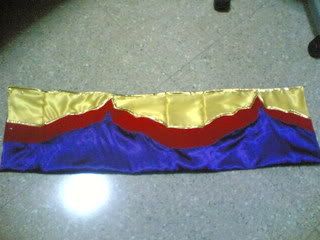
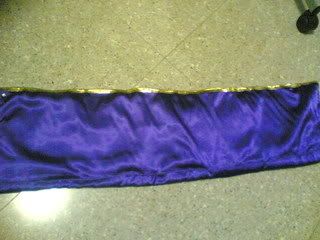
and i realised it was so messy (the back) so i had to cover it up. heh.


Photobucket


the last step was just adding buttons to it.


Photobucket


Photobucket


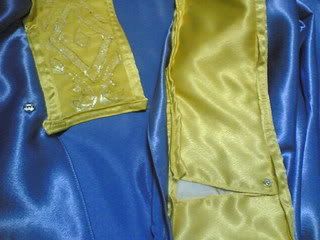
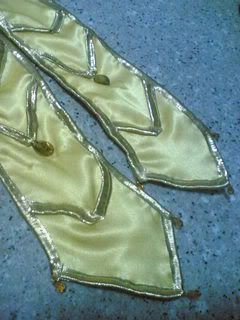
yesterday, i worked on the 2 golden strips. i had a horrible time unsewing ALL the gold lining at the side and sewing them again. this time, i unsewed it whenever the cloth flipped at the back or the layers doesn't sew well together. spent about 3+ hours just sewing the sides.
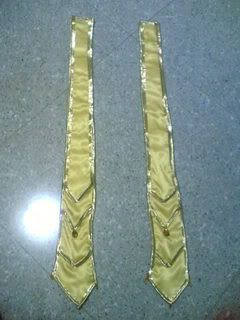

Photobucket


the back.


Photobucket


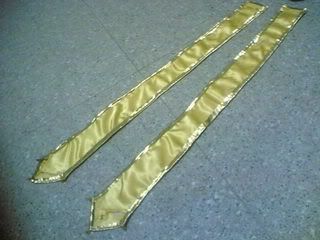
the tip of the back, which looks really awful because i underestimated the triangle section and the length.


Photobucket


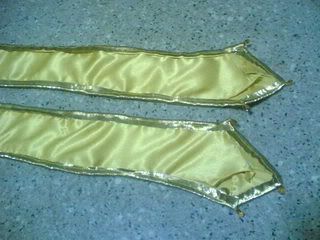
and my swarovski crystals on it! pretty!


Photobucket